I’m a noob to several things. I just joined the PaxSpace in mid-August. Never even heard of a Makerspace until a few days earlier when my wife mentioned PaxSpace. I know she just wanted me out of the house. I’m OK with that.
Then I became a noob to Arduino, Raspberry PI, and 3D printers! KEWL! Don’t know what they are? Then you are a candidate for joining PaxSpace!
This will be a drawn out rambling of what it takes and what it’s like to build a 3D printer kit from MakerFarm.

I spent countless hours looking into 3D printers and why it would be nice to work with one. I was very impressed with the Printrbot Simple workhorse that PaxSpace was using daily to print PLA parts and looked at the 6″ metal version as I thought I’d like to print ABS, Nylon, and other higher temp filaments in addition to PLA. When all was said and done it was decided that the larger 10″ Prusa i3v would be a good fit with the other printers in the Space.
A Prusa i3v showed up around mid-November very neatly packaged and professional looking. I opened everything up and found that none of the guide wheels were in the box! Bummer. I immediately contacted Colin at MakerFarm and was told the parts were on their way! There are 2 versions of the kits shipping: a dual guide V wheel (similar to what is on the CNC Router at the Space) and a new improved solid wheel. I believe the new version will be in all future shipments, but the instructions show the older style.
So, while we are waiting for the wheels I’ll bring you up to speed about my qualifications to build this beast. I am a Jack of All Trades and actually am a master at some. I have a fairly extensive woodworking, metalworking, welding, and fabricating shop at home. Why would I want to be at PaxSpace? Meet new people (I’m told I’m a recluse) and it’s cleaner than my shop! Also, I like that there are more electronics/computer based spaces available as my shop is a dirtier environment and not great for electronics. I’m handy with soldering and meticulous about doing things right, so even though I’m a noob to the field I feel I can tackle it. That said I think anyone with basic hand tool skills and minimal soldering could build their own printer as well.
Hey! The new improved guide wheels showed up about 4 days later.
While waiting I built every sub-assembly I could. MakerFarm has a very good tutorial with videos to help in building every sub-assembly all the way to completion as well as setting up the printer.
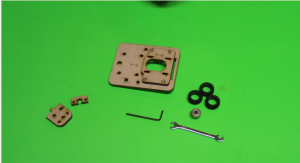 This is part of the X axis assembly. There is a left and right side that are similar in shape. This one has the stepper motor attachment. The black donuts were part of what was missing. My replacement came pre-assembled.
Wasn’t that nice.
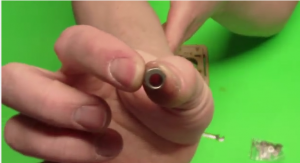 This is a concentric nut and it is used to help align and tighten the X axis assembly to the guide rails.
It’s pretty important as we will find out later.
There is a quiz at the end. Be sure to be taking notes and studying.
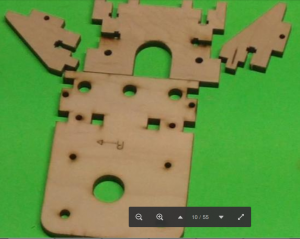 I’m not going to bore you with every detail, but as you can see here the parts are
laser cut and fit perfectly together. Easier than a jigsaw puzzle!
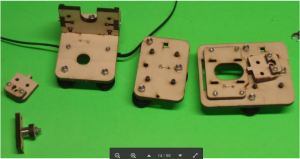 These are all the parts for the X axis ready to mount to the rails.
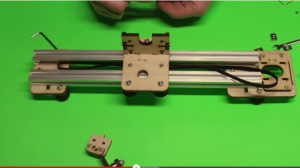 You can barely see the 2 guide wheels at the bottom of the pic on the middle assembly. You can also see one wheel on the left and right assembly. The picture is upside down to direction of travel, but the middle piece will have the extruder and move right to left to right and everything you see in the pic will ride on vertical rails on each side and move up-down-up on the Z axis.
So, everything went together relatively easy and all you need for most of the build is the supplied allen and open end wrenches. I did need one wrench not supplied to check the tightness of the extruder.
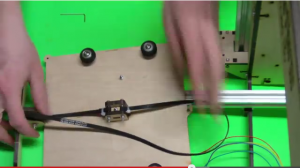 This is the bed assembly ready to mount to the guide rails. See the two guide wheels?
There are two on each side and two are fitted with those concentric nuts.
Remember them? Quiz coming.
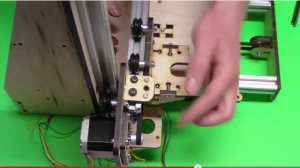 Almost done! So, the bed is under the hand. The extruder will fit on the U shaped plate under thumb. The stepper motor will control Y axis and will move the extruder left-right-left as you face the printer. There’s those guide wheels again. There are two in particular. The one you see right next to the stepper motor and there is one on the far right side which you can see. When you mount the assembly you turn the concentric nuts and they will tighten up to the rail so all the wheels are making contact and you won’t have any sloppiness in movement. Sloppy equals inaccurate prints. Don’t want that.
In the instructions and video tutorials it states you want to tighten the bolts, screws, wheels, etc. How tight? That is where trouble may come up. Snug I think would be a better word to use. I can tighten pretty tight. Too tight as it is later found out. The concentric are made to fit tightly in the pre-drilled hole of the wood and can be turned with the included wrench to adjust the alignment. IF you tighten them too much the nut will dig into the wood and with the proper amount of excessive fiddling will cause the guide to NOT be perpendicular to the wood any more. What’s that mean? It means I broke it, that’s what it means. Broke it in the sense that no amount of adjustment would align it properly.
Colin!?
No problem. Will cut two new pieces today.
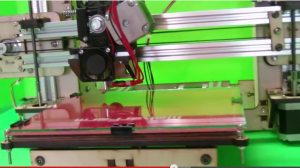 Three days later I had my parts and had to tear all the horizontal rails and parts attached off and
apart to replace the offending guide wheel concentric nuts.
Once I got past that debacle everything smoothed out for a while. I have access to another 3D printer so I made some standoffs for the RAMPS circuit board. Designed and printed an 80mm fan mount to cool the RAMPS, just in case.
Everything was plugged in, hooked up, and ready to try.
Started by setting the limit switches so it didn’t try to ride off the rails. Check axis for max travel and Z axis had an issue. The right side was going higher and higher, but the left side only went about 2 inches and stopped cold. It was racked about an inch before I turned it off. What gives? Well, it seems that stepper motors that are designed to move with its assembly can’t move if someone fastens the wires underneath the base which of course doesn’t let the wires move that are attached to the stepper!!
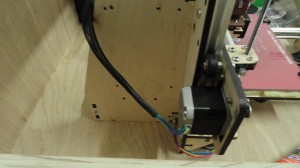 The wires prefer not to be under the frame.
I said I was qualified. Didn’t say I was smart.
One more quick fix and all was good again. Time for a test print! The Prusa comes with a LCD controller and SD card slot. This allows you to print without being connected to the computer. Can be be a good thing and a bad thing. Depends on your current needs.
So turned it all on and was playing with the LCD and after about 10 minutes the screen goes all squirrelly. Can’t read a thing. Colin? Yeah, that happens sometimes. Not the answer I’m looking for. How do you change a setting if you can’t read it?
Colin gave me some ideas from other users and I did some searching. It seems swapping cables might help. Adding aluminum foil shielding might help.
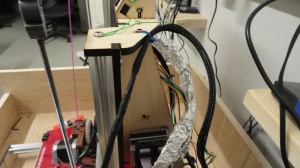
I’m an electrician so grounding could help. I did all of those things,,,and it DID help! LCD has worked flawless in standalone mode. Now, when using the computer software, that’s another story. I believe it’s a communication problem, but fortunately for now I don’t need the LCD if using the computer and the LCD is fine when used by itself.
Get everything aligned and did my first Qbert staircase in PLA. Looked pretty good. Tried tweaking a few settings and printed another. Looked even better!
Was printing on blue tape as everyone at the space seems to use it for PLA and ABS. My PLA prints were sticking so well that I would rip the tape off the bed before the print would release. Taping the bed for each print gets old real quick. Started trying ABS on the bare glass with Elmers purple glue stick. Read it was better than hairspray. Prints stayed down with no curling and came off with moderate effort. Tried letting the bed cool completely down and the ABS almost pops off by itself now. Success!
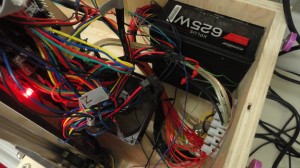 Wiring management is a challenge.
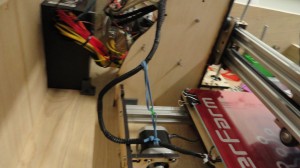
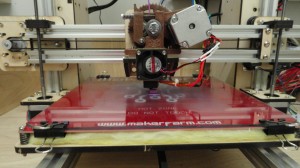
Printing a tiny 5mm cube with a 2mm hole in it.
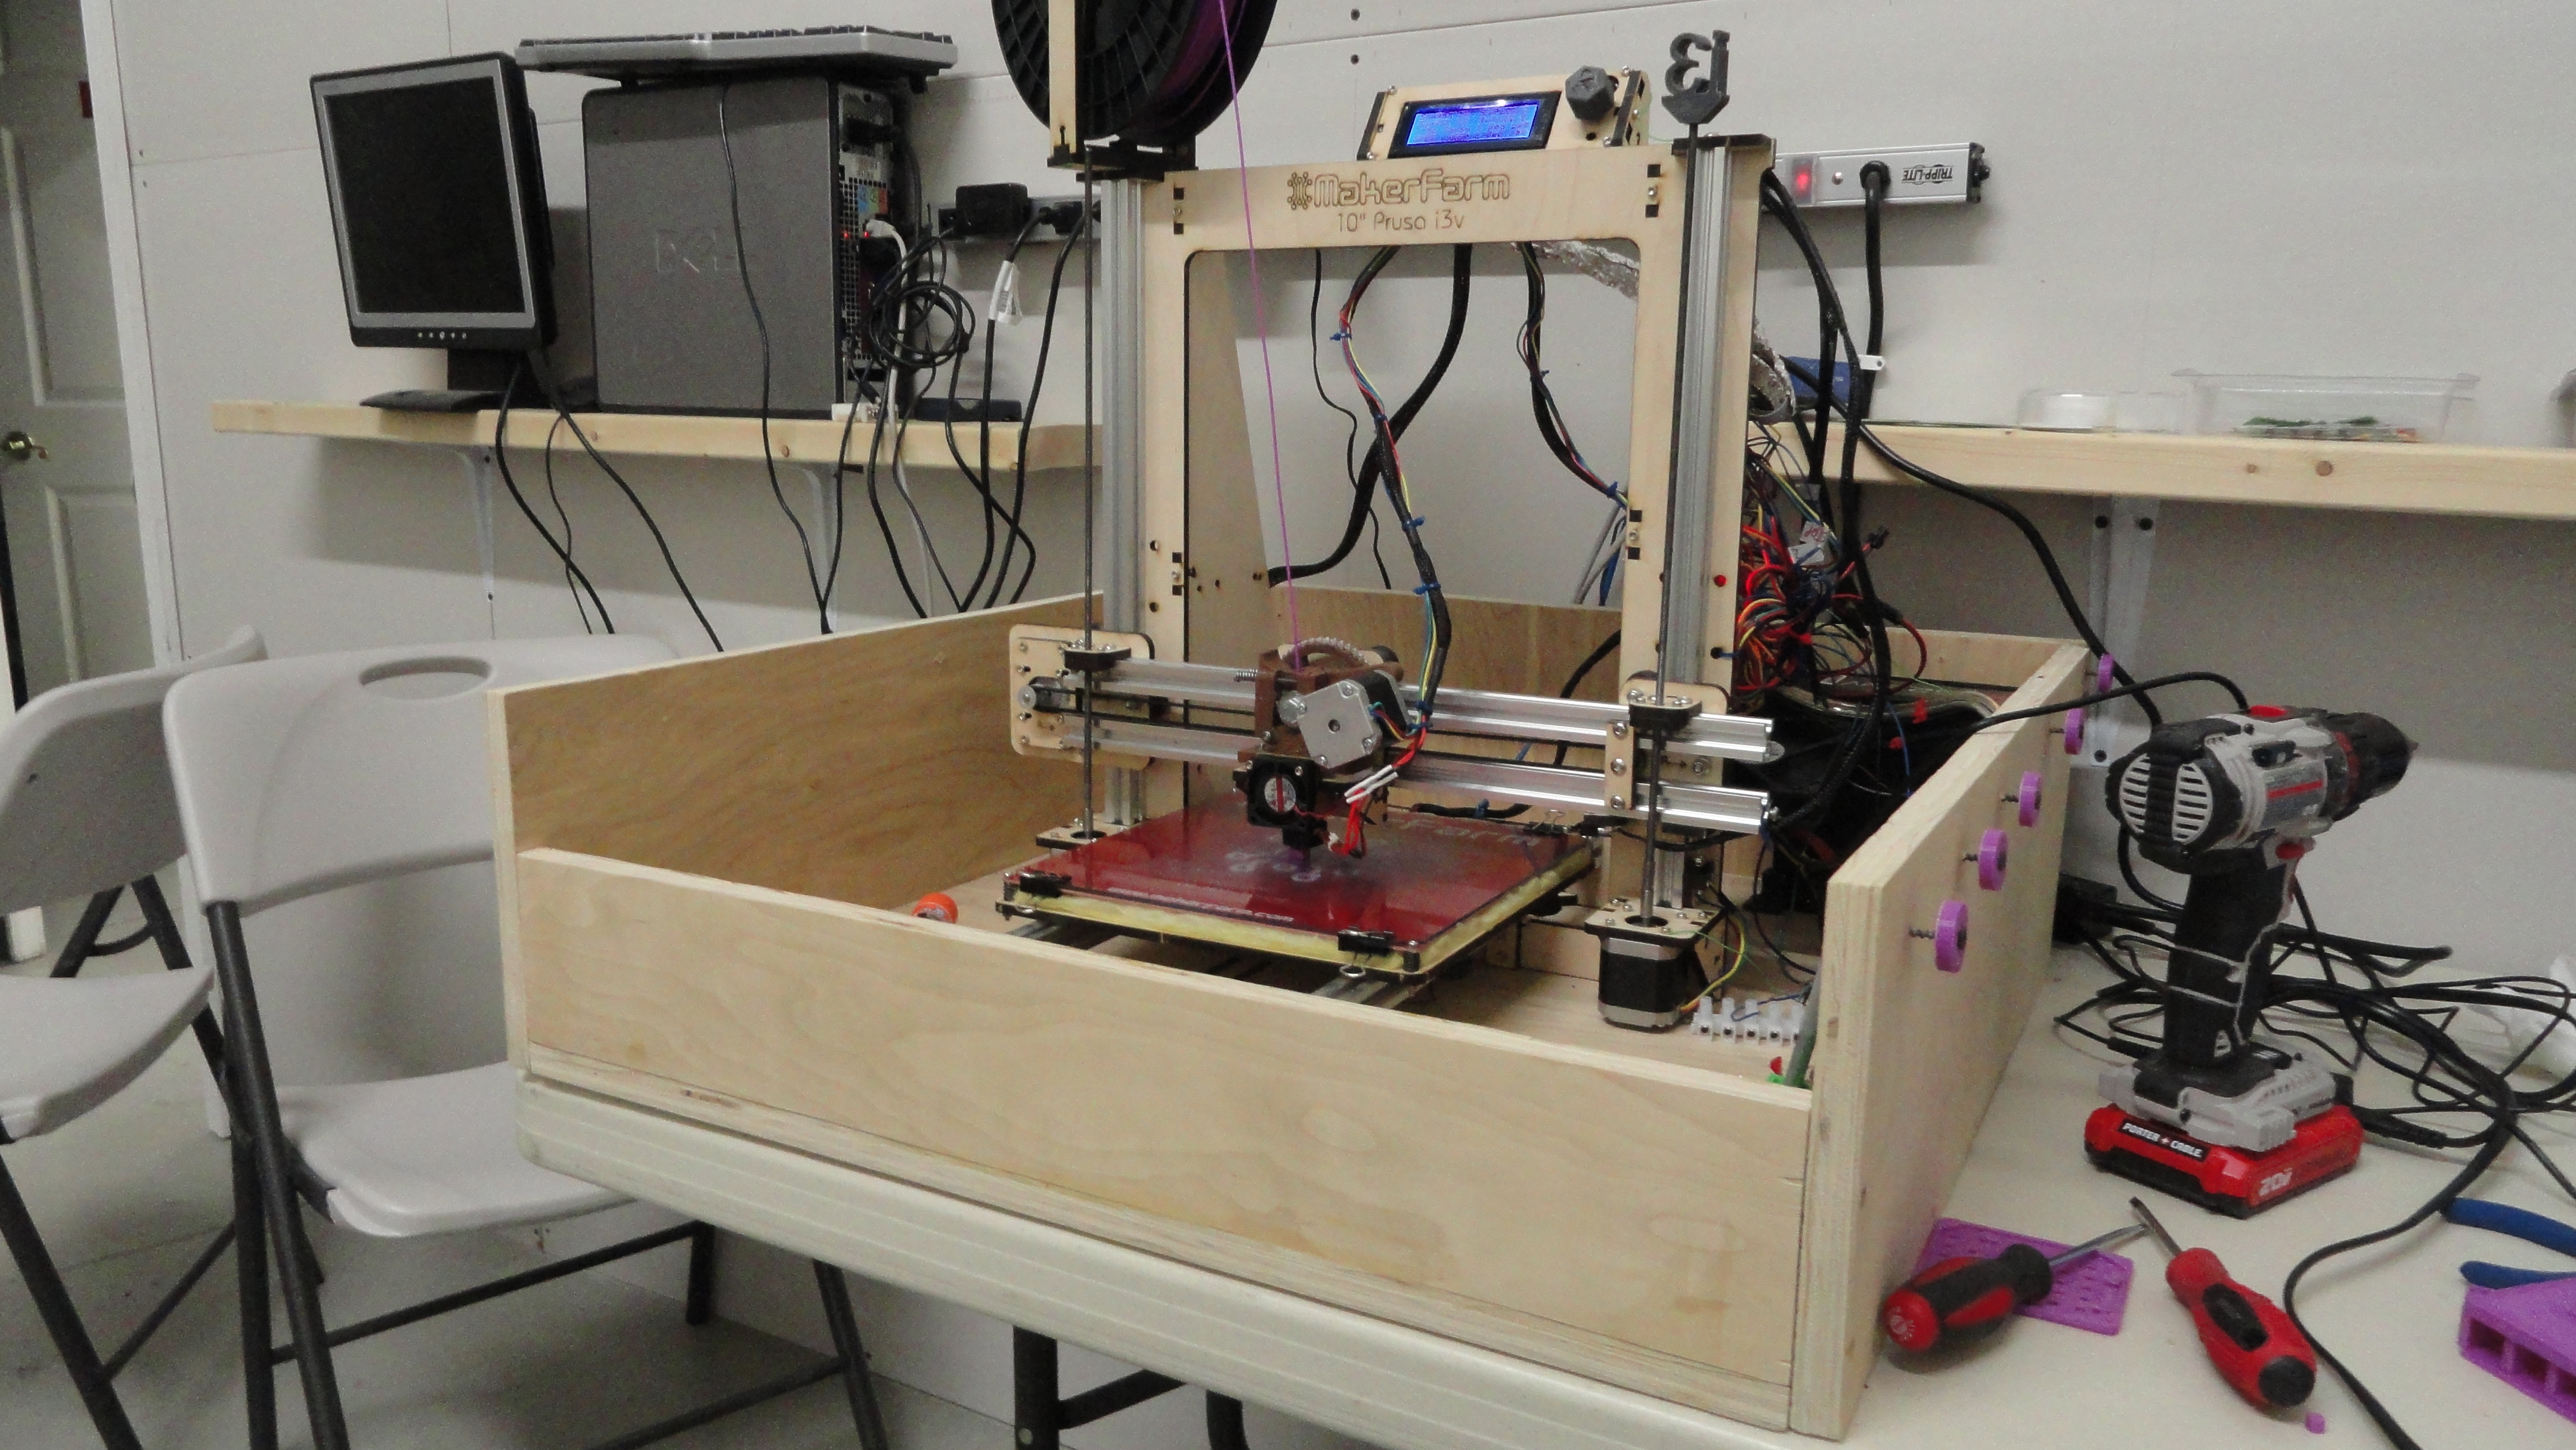
Started on an enclosure for the printer to keep dirt out and temperature steady for improved printing. At least that is what I believe.
I’ve been printing off and on for the last 2-3 weeks now and most of the prints have turned out very well. The only time I get a bad print is do to my need in trying to do something else while printing and it goofs the software up. Totally my bad.
I’ve tweaked a few settings here and there, but overall the Prusa i3v works great out of the box.
Figuratively speaking as it was a box of parts.
That’s about it for now. Hope you enjoyed the rambling.
Oh! The quiz. I’ll just give you the answer.
If it ain’t broke, you’re not trying hard enough.
